
Before:

and after...


A special piece that Mrs. Hunt found for me. It was scrap art paper that Larsen and I would clean our brushes on during art class. Lar then had us both sign it on our sides that we used and then matted it. Again, a very special piece.

Made this one using leftover fabric from the piano bench, and some photos from our wedding...

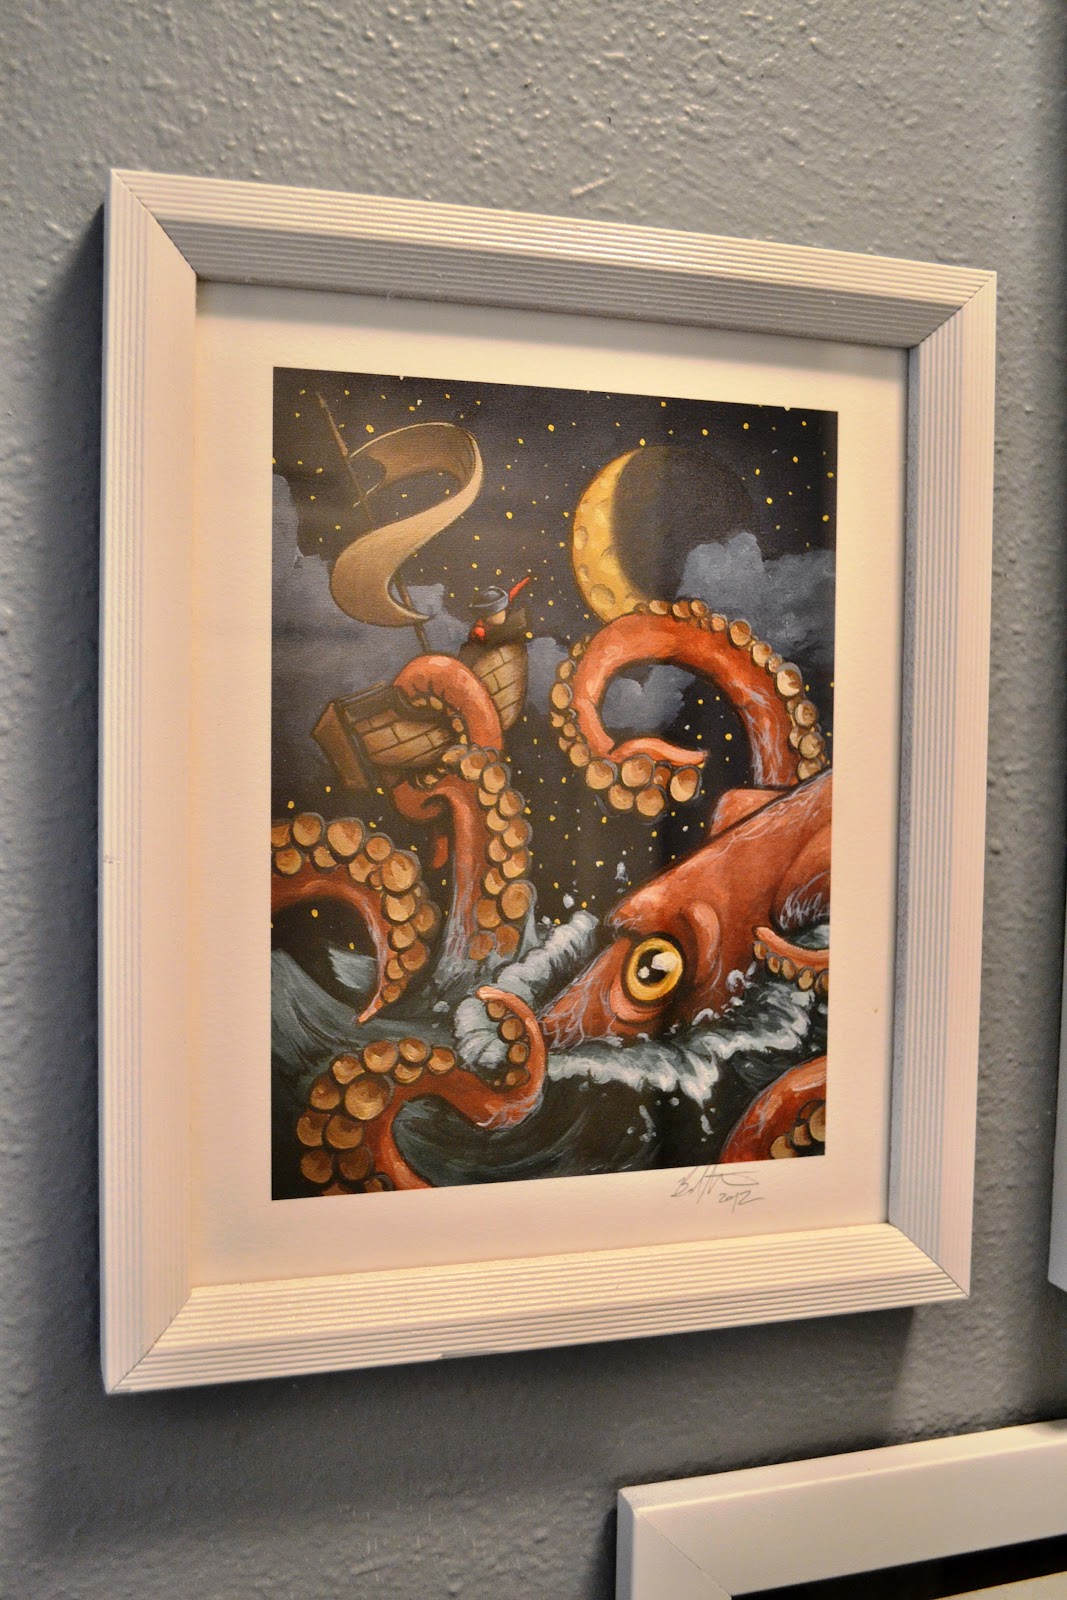
An art piece from Etsy...we love this guy.
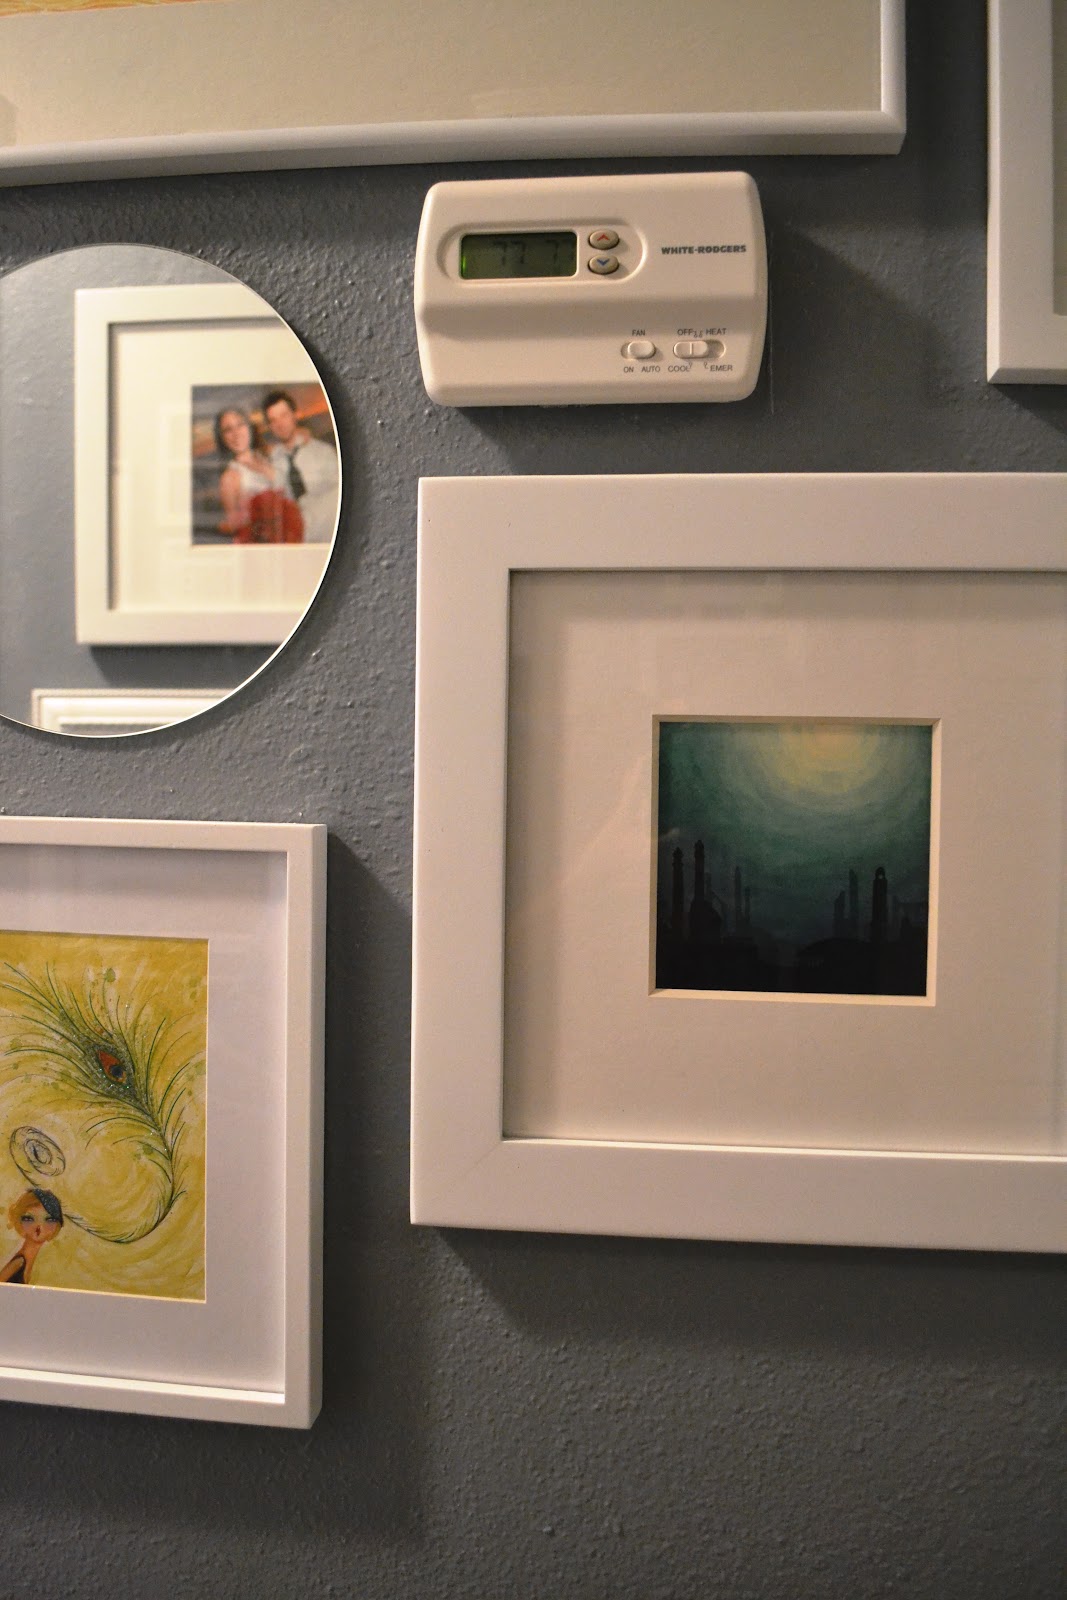
Another art piece from Etsy...love this one too. (Also pleased with how the frames conceal our ac temp unit and alarm unit which stick out like sore thumbs in the before picture)

And another print from Etsy, along with some card art.

Another one that I made. A good verse for me to remember. I found the free image online and typed the words over it in publisher.

When I think back to all that I did to this hallway, I'm surprised I found the motivation. I guess I just took everything one step at a time, which usually is the way to go. Yes, that is the way to go. Here's all that was done:
- Painted hallway (changed it from the blue color to a grayish color using leftover paint - Shale by Martha Stewart)
- Spray painted door knobs and hardware (for the whole house too, there just so happens to be 5 doors in this hallway, two that aren't seen in these photos)
- Spray painted frames white (only ended up purchasing two of the frames from Goodwill, everything else was sitting in a closet)
- Created 5 homemade art pieces
- Purchased 4 prints from Etsy
- Hung frames/mirror/porthole
- Collapsed with relief once all was complete
I did start by using the tip where I cut out the shapes of the frames using brown paper and taped it on the wall to give me an idea. However, painters tape wasn't holding well so it fell off shortly. Thankfully I took a picture of the layout before it all fell.
So this concludes the hallway. I had a few more ideas for it, but you know what? The hallway and I need a good break. So this will do, lol.
Have a great day everyone :)
It looks great lisa! Love your work!!
ReplyDeleteAw, thanks so much! It was quite an effort, but I'm pretty pleased with it!
DeleteThanks again!
Lisa :)